About a year ago – or was it two? – I bought my first piece of Mosko Moto kit, the Nomax Tank bag, for my then new KTM 790Adv. When it arrived, I was surprised, maybe a little disappointed, that it was so small, and not only small but divided horizontally into compartments that made it even smaller. This was not the tank bag that you could dump a small supermarket shop, or your large DSLR into and ride off. It encouraged or rather forced you into organising the number of necessarily small items that you might want to have at hand. Even the additional map holder was so small I had to search for an A5 size road atlas to fit into it. But then the KTM, and other off-road-ish bikes, are smaller than BMW R1200s that my previous Touratech bag perched on. Touratech tank bags are described as being 15L in volume, compared to a third of that for these MM bags. That’s got that out of the way.
I think it was the influence of a Youtube motorcycle traveller that brought the Hood tank bag to my attention first. I liked its simple design and the fact it seems to be one large compartment and one that’s meant to be highly waterproof too. So I shelled out and it arrived from somewhere in Europe without me having to pay any extra tax. I wanted to know whether it had the carrying capacity of the Nomax so tried this experiment:
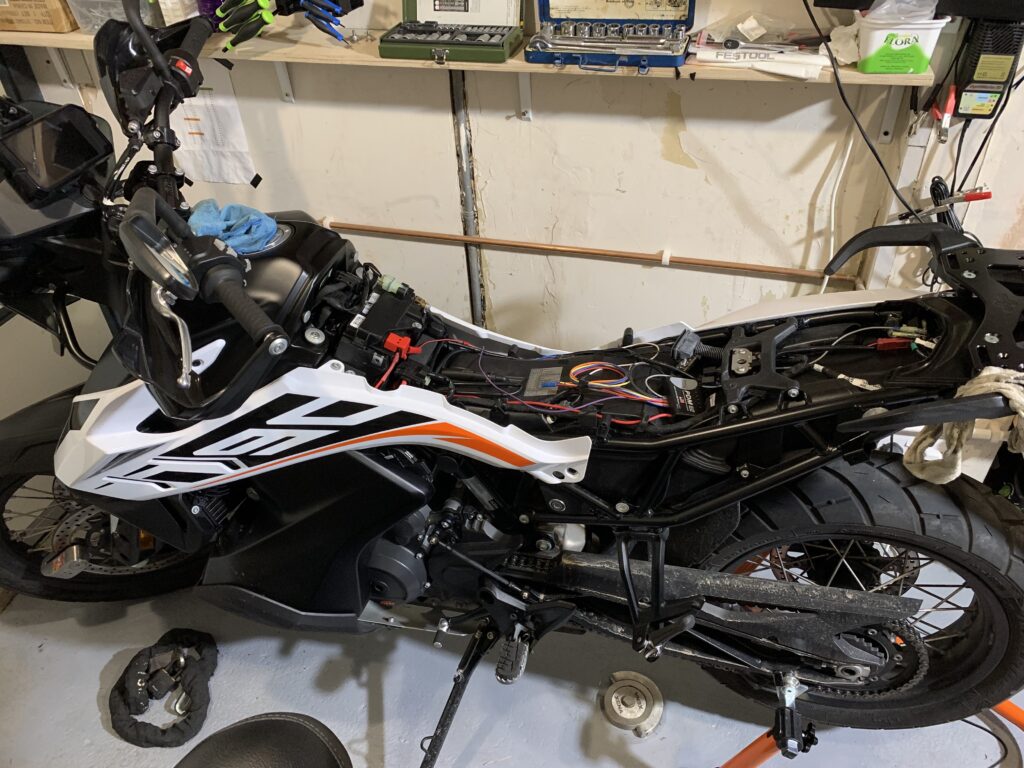
Pretty much all of those small tools for minor maintenance and some personal things like Ibuprofen and folding cutlery fit into the two separate pouches that fit inside. That leaves the centre of the bag for the usb charger and the tangle of wires and battery chargers that most motorcyclists carry around on their trips. The bag has some waterproof holes and routes for a charging cable to reach the bike’s usb charging socket installed now by the new tower. And that’s just about it. So just like the Reckless 80 that I also have, instead of opening it and reaching for the item you need, you have to take a bunch of things out first to find what you want – maybe not so much fun if its raining and you are by the side of the road. That’s the price of the ‘light is right’ approach, I suppose.
The real test is to try it out on the bike which I haven’t done yet.